The best preparation for filming your VR scenario. With these 4 steps and 3 documents you create higher quality scenarios with less stress.
Well begun is half done! (Aristotle). We have experienced that is so true. The better the preparation, the smoother the film day. In this blog, we will focus on pre-production, one of the three phases of traditional film production.
1. Pre-production
This phase revolves around writing the scenario and all preparations for filming. When the scenario is ready, the scripts can be written out. Determine where and with whom you are going to film. Create documents to help you with this, such as a script breakdown, shot list, production schedule, and call sheet. Keep on reading to get your copy of these documents.
2. Production
AKA: Filming day. It’s where all the preparations come together.

3. Post production
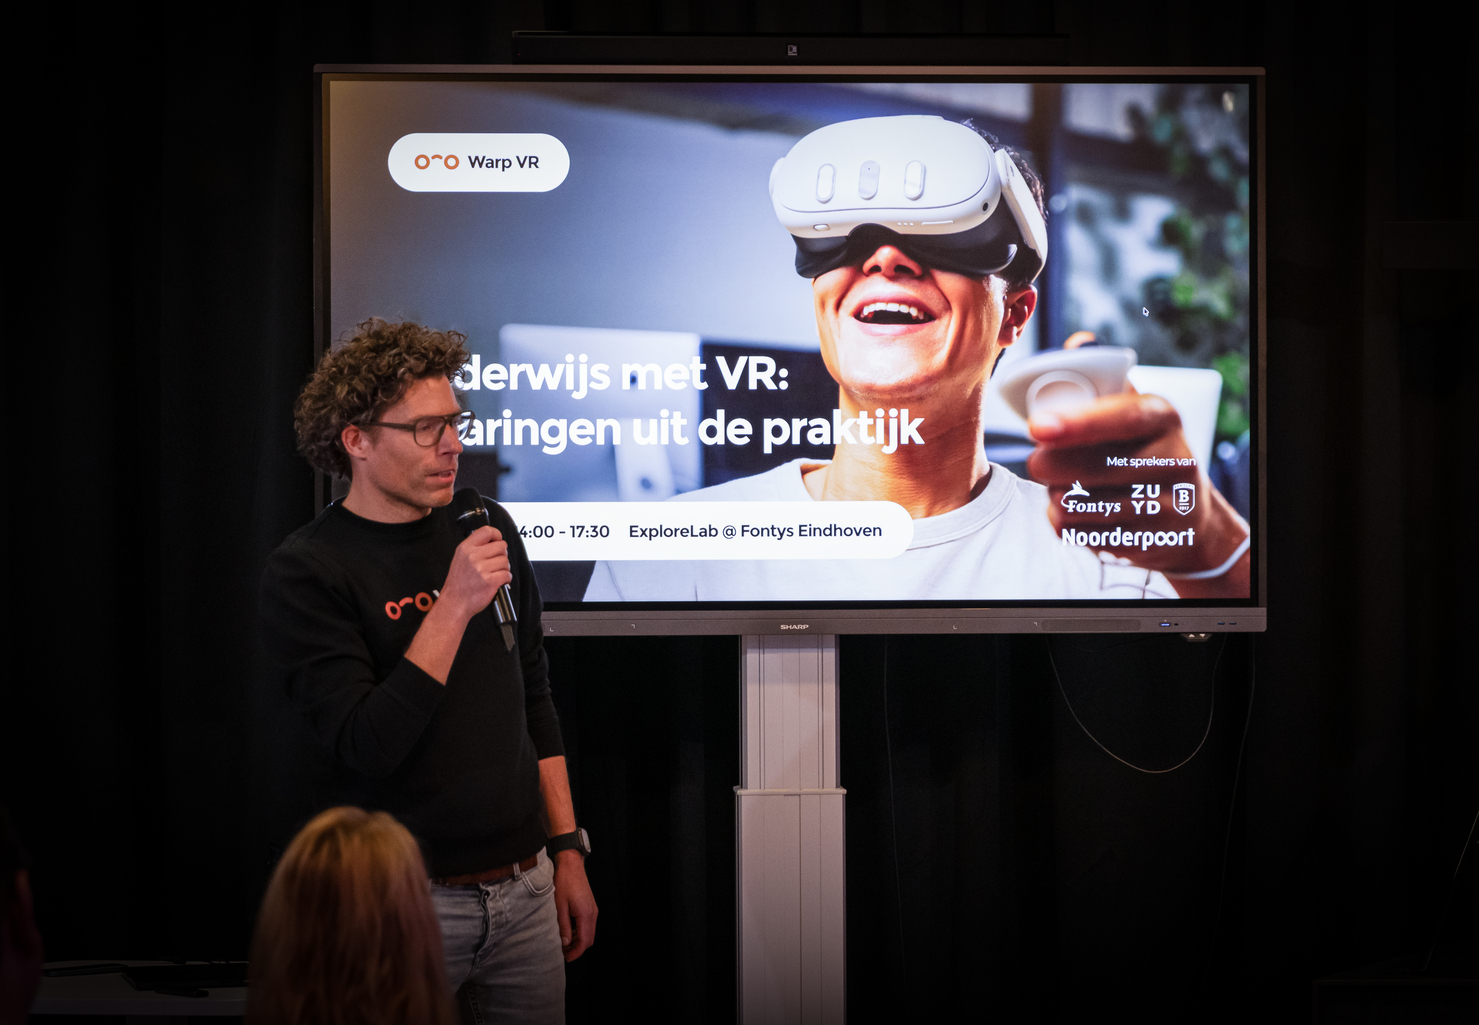
When everything is filmed, all video material must be edited. Stitching, editing, exporting, importing to Warp Studio and getting everything ready for testing. After that there is only publishing.
You have a scenario ready in Warp Studio. In case you have not been involved in writing the scenario, walk through the scenario first. Preferably with the writer. If you wrote the scenario yourself, you already know what's important.
Go through the scenario and find out if all scene descriptions are complete. I use the walkthrough functionality in Warp Studio to do that. Simply click through the questions without any video. You will see the title, scene description, questions and answers.
Focus on the scene description. Does it describe everything you need in order to film? Does it give you a film location, actors and attributes? What should or should not be seen in the video? Is the script clear? The text of the actors and the way they should say it (attitude, emotion, intonation, tempo). If something is missing, change it first.
Export the scenario from Warp Studio. This will automatically create a shot list. A shot list is a list of all shots, or “scenes”, that have to be filmed. The export from Warp Studio contains scene number, title, scene type, question and answers.
Control the order of the scenes in your export by using camera locations. Create different camera locations and add scenes to this location. When you have added all scenes to camera locations, export the scenario.

After export, you can make a good estimate of the size of the scenario, which gives you an idea of the size of the whole production. Now you can make the following documents.
A. Script Breakdown
This is a crucial document to assess how big your production will be, whether it fits within your budget and how long it will take to make it a reality. For example, it states what is needed in terms of locations, cast, extras, props, costumes and vehicles.
How do you do that? Go through all scene descriptions to distill the necessities. Collect them in a list in Google Sheets. Note what it is, who is responsible for it and how to arrange it. Think of buying, renting, borrowing or making.
We have got you covered. Download our template here: Script Breakdown
When this list is finished you can see at a glance what is needed. Take a look at the number of actors needed. Decide whether you are going to hire professional actors and if that fits within your budget. Or ask colleagues to act and check their availability, not to mention their willingness to become famous :).
B. Production Schedule
If you know what it takes to film the scenario, make a schedule. In short: when do the things on the Script Breakdown need to be arranged? For this we use the same Script breakdown document and our agendas. Also include how long the post-production will take. Read more on how to calculate this in the post-production blog (will follow later).
You can also schedule location scouting. This is useful to determine in advance how the scenes will be filmed on location. How the light is: is there a lot or little light? And what does the sun do? Also about sound; is there a lot of echo or ambient noise that can bother my recordings?

C. Call Sheet
In short, the call sheet is about who, what, where, when, and why. We start with the shooting schedule.
We schedule 1 hour to set up and prepare our gear, 10 minutes to film a scene and at least 15 minutes if we have to move the camera. This can be more if more travel time is needed. Don't forget to schedule lunch, because filming makes you hungry. We schedule a 30-minute break when lunch is ready to eat immediately. And 1 hour if we have to go somewhere for lunch.
What you cannot forget is the location(s) and address(es). Note for people who are unknown to the location where they can park and whether they need to register. Contact information is also useful in this document.
Again, we got you covered. Download our template here: Call Sheet
If you have collected all information it is time to perform your plan. This means arranging the locations, crew, cast and any other necessities.
Send the crew and actors the production schedule, script breakout, call sheet and scenario export so that they can prepare. If VR is new to them, I will also advise you to send them a VR training.
That’s it!
When you have finished these steps, you are ready to go filming. You no longer have to stress. You know the scenario. You have arranged everything that is needed. Everyone knows where they have to be. You are prepared for film day!


.png)