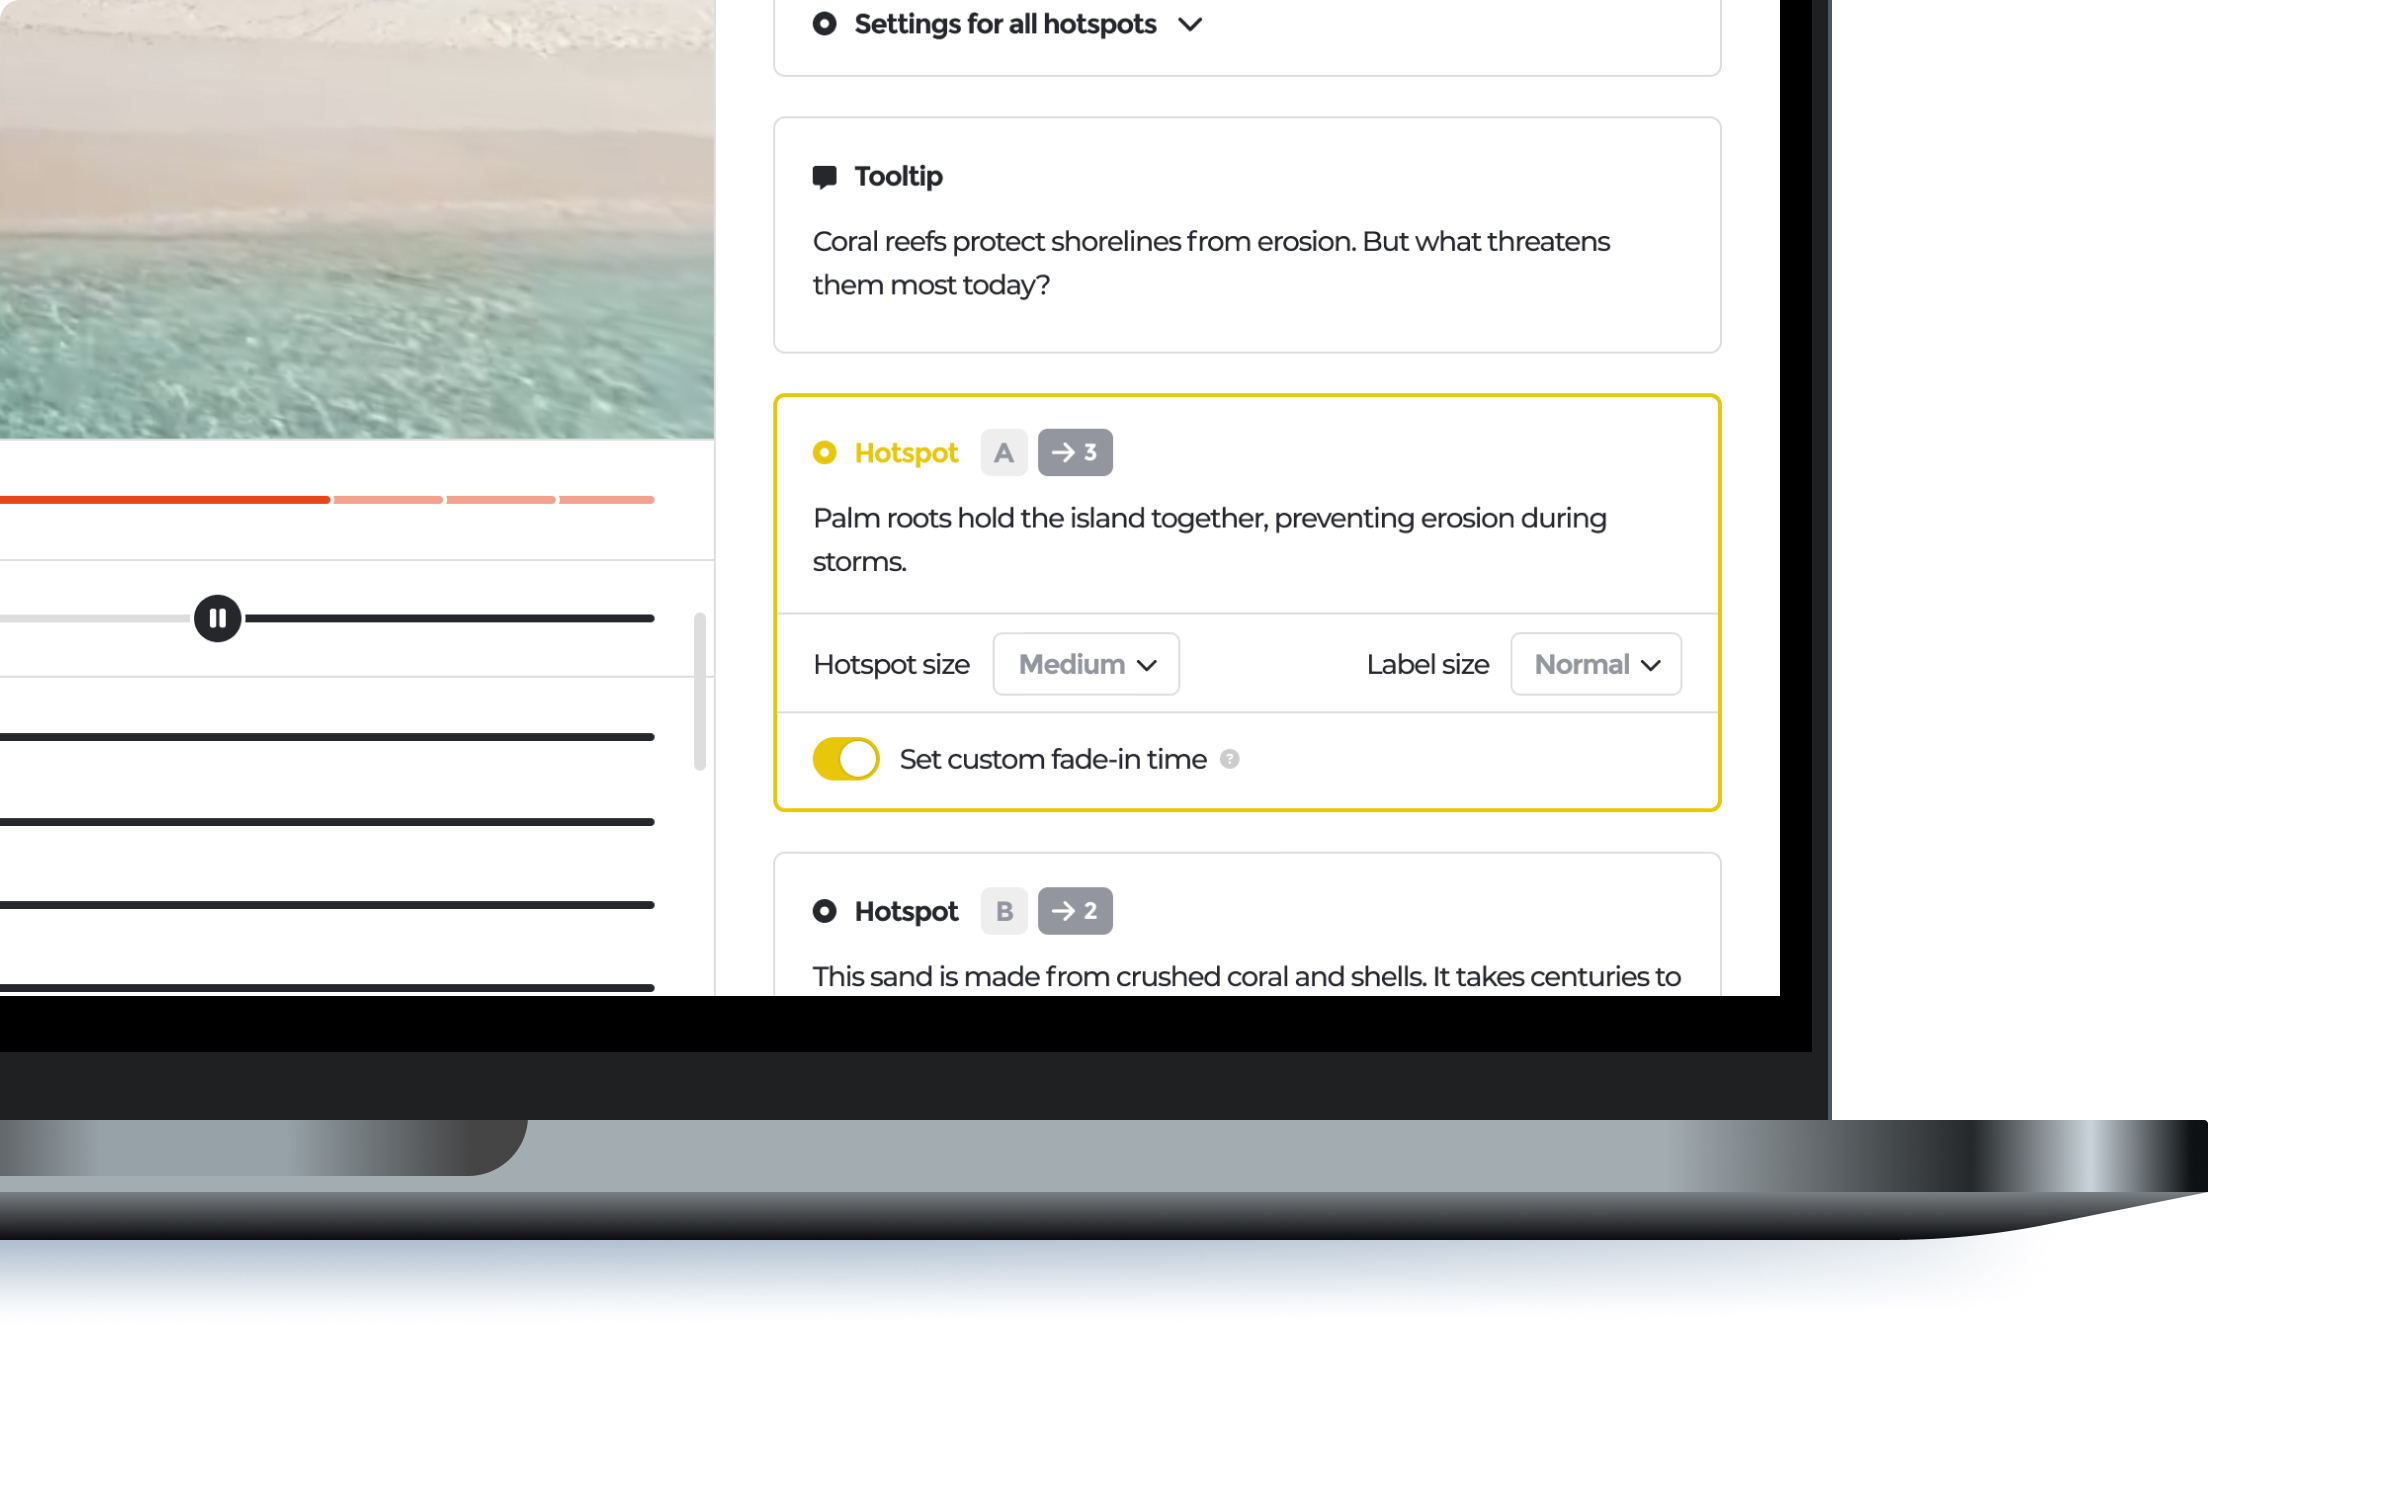
We’ve just rolled out a powerful new feature in Warp Studio: the ability to set a custom fade-in time for each element in your 180° or 360° scenes. That means more control, more storytelling finesse, and better pacing.
Until now, there was a single fade-in slider that applied across all your elements at once. But scenarios are rarely that simple. Sometimes you want a tooltip to appear immediately, only then for a question to pop up. Now you can.
Here’s how it works:
Each element can now have its own fade schedule, giving you creative flexibility to orchestrate the flow of information.

This update transforms how you guide trainees through a scene. You can introduce context first, let learners absorb it, then gradually bring in the interaction. For example:
This kind of pacing helps your learners feel more directed and less rushed while keeping them immersed. Best of all: this works within the same scene, with the same elements. You’re just adding timing nuance.
Give it a try in your next scenario and let us know what you think. We’re excited to see how you use custom fade-in in your storytelling.