A lot of what trainees need to notice is something they hear, not something they see. The alarm that starts a minute before anyone reacts. The radio call that changes the plan. The patient whose breathing sounds wrong. Until now, sound in a Warp VR scenario had to be part of the video itself. With Audio elements, you can add it separately, exactly where and when you need it.
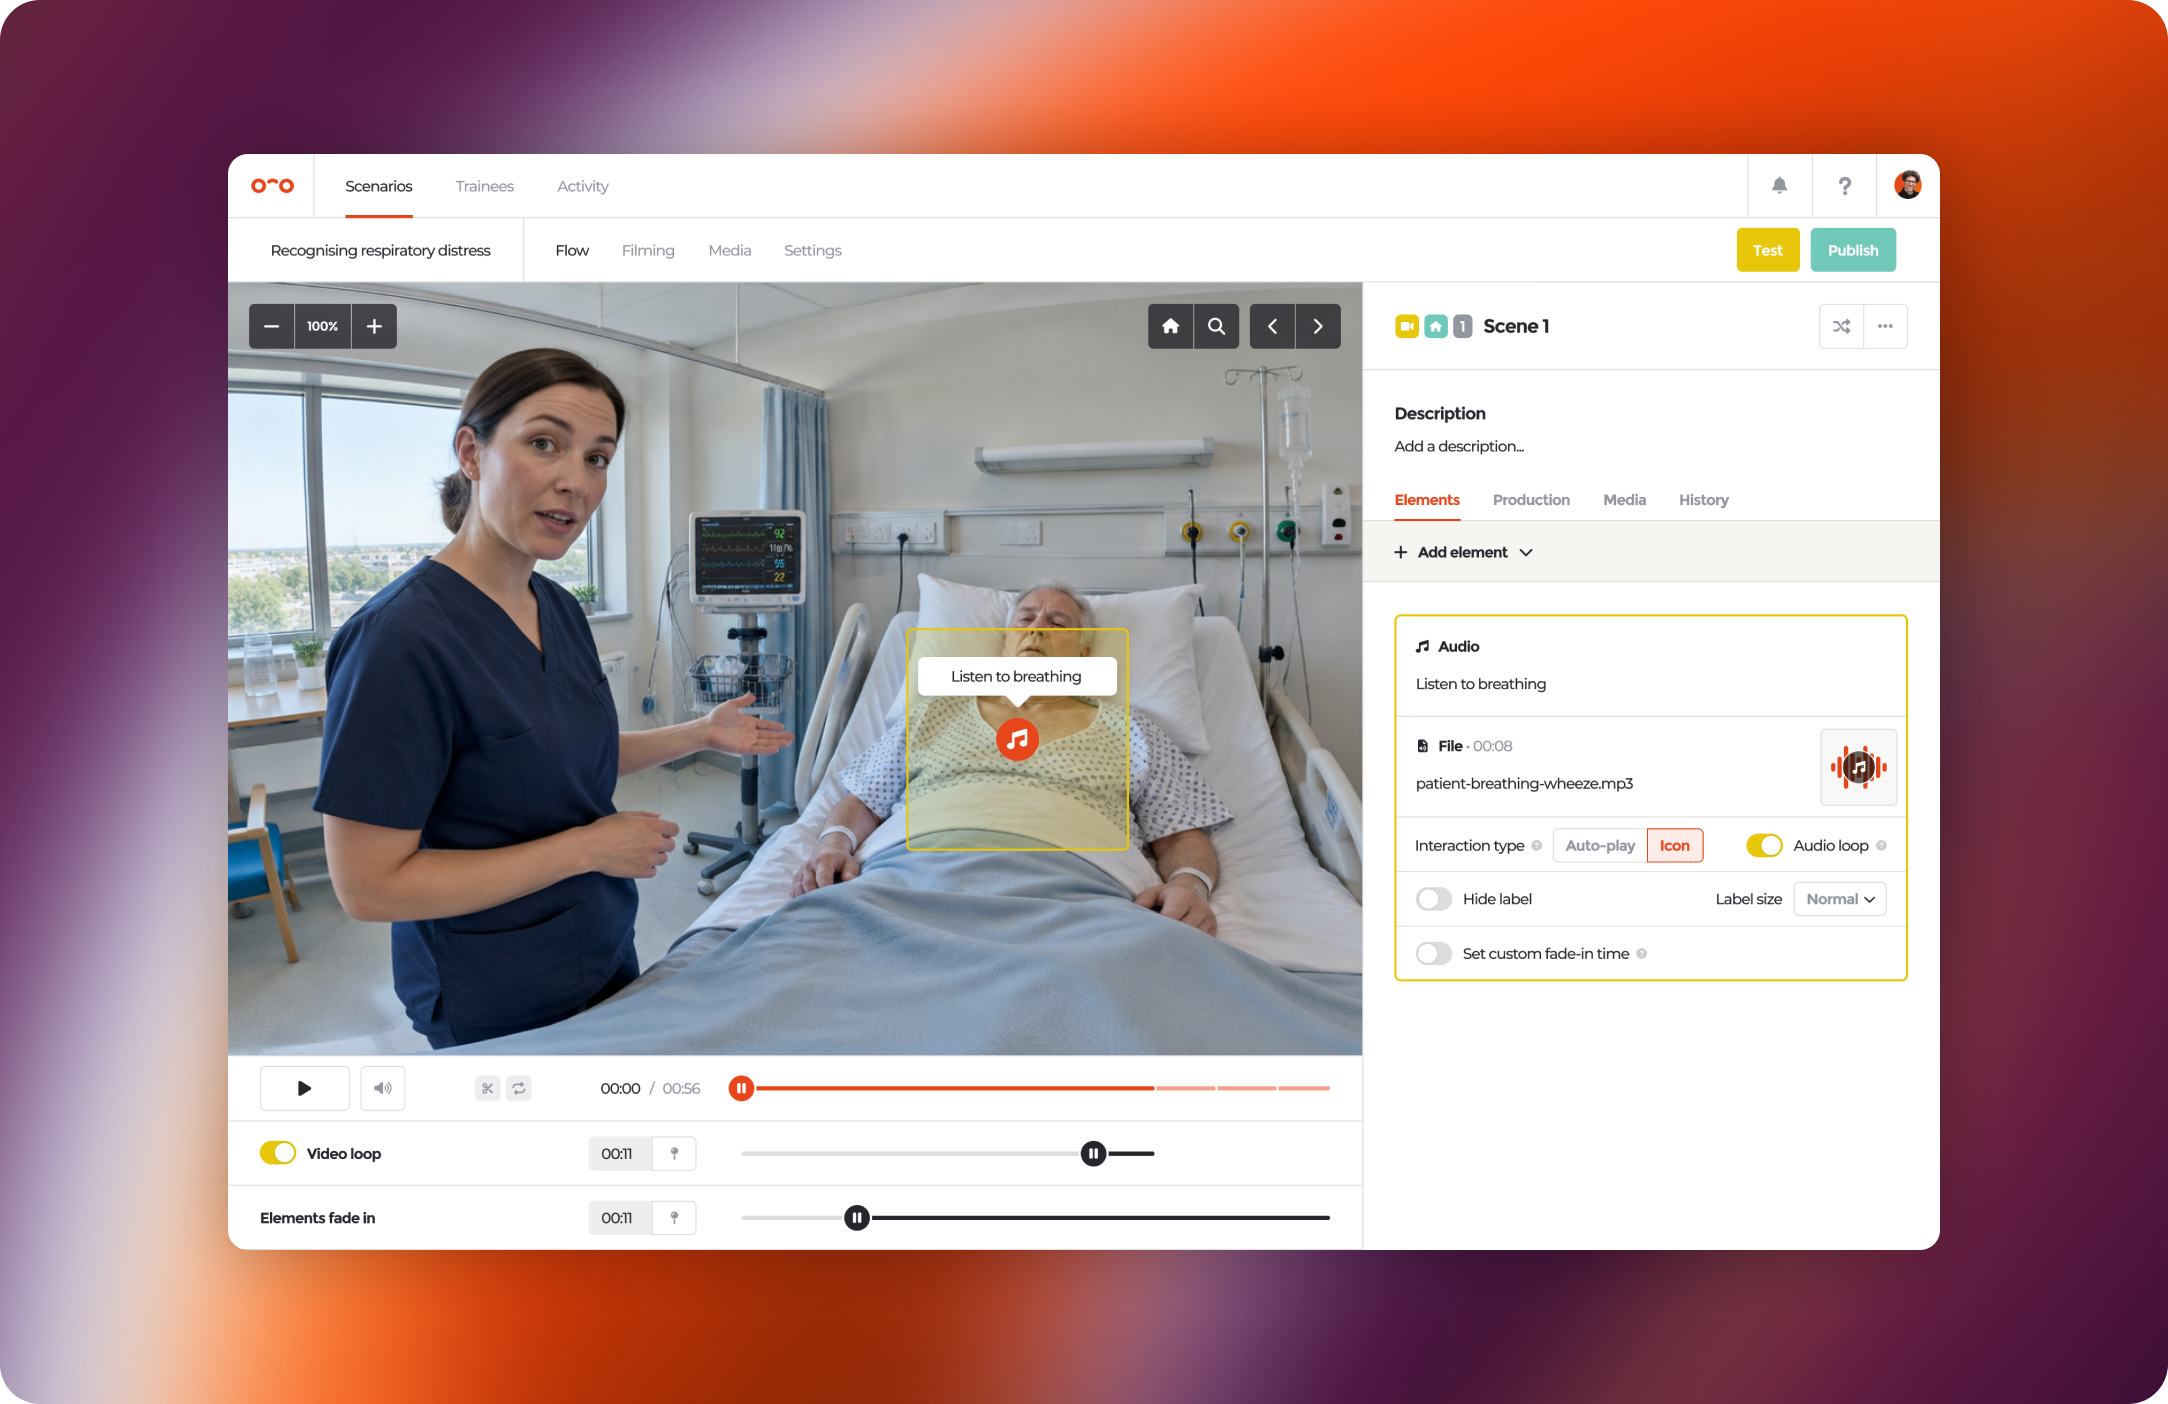
Upload an audio file and place it in a scene, just like you place a hotspot or a question. Use it for a voice-over that guides trainees through a procedure, a sound effect that adds pressure to a decision, or background noise that makes a factory floor or emergency room feel real.
You can upload MP3, WAV, M4A, AAC and OGG files of up to 30 minutes. Trim them in the media library, so you only use the part you need.
Every Audio element has two modes:
Turn on looping for sound that should keep going, like machine noise or a ringing phone, and set the volume per element so voice and background stay in balance.
Audio elements sit on the scene timeline, like every other element. Let the alarm go off at exactly the moment the trainee reaches the door, or let a colleague's voice come in just as a decision appears.
Audio isn't limited to its own element. You can also use an audio file as the media of a tooltip, question, hotspot or direction element, and on media panel slides. A few ideas:
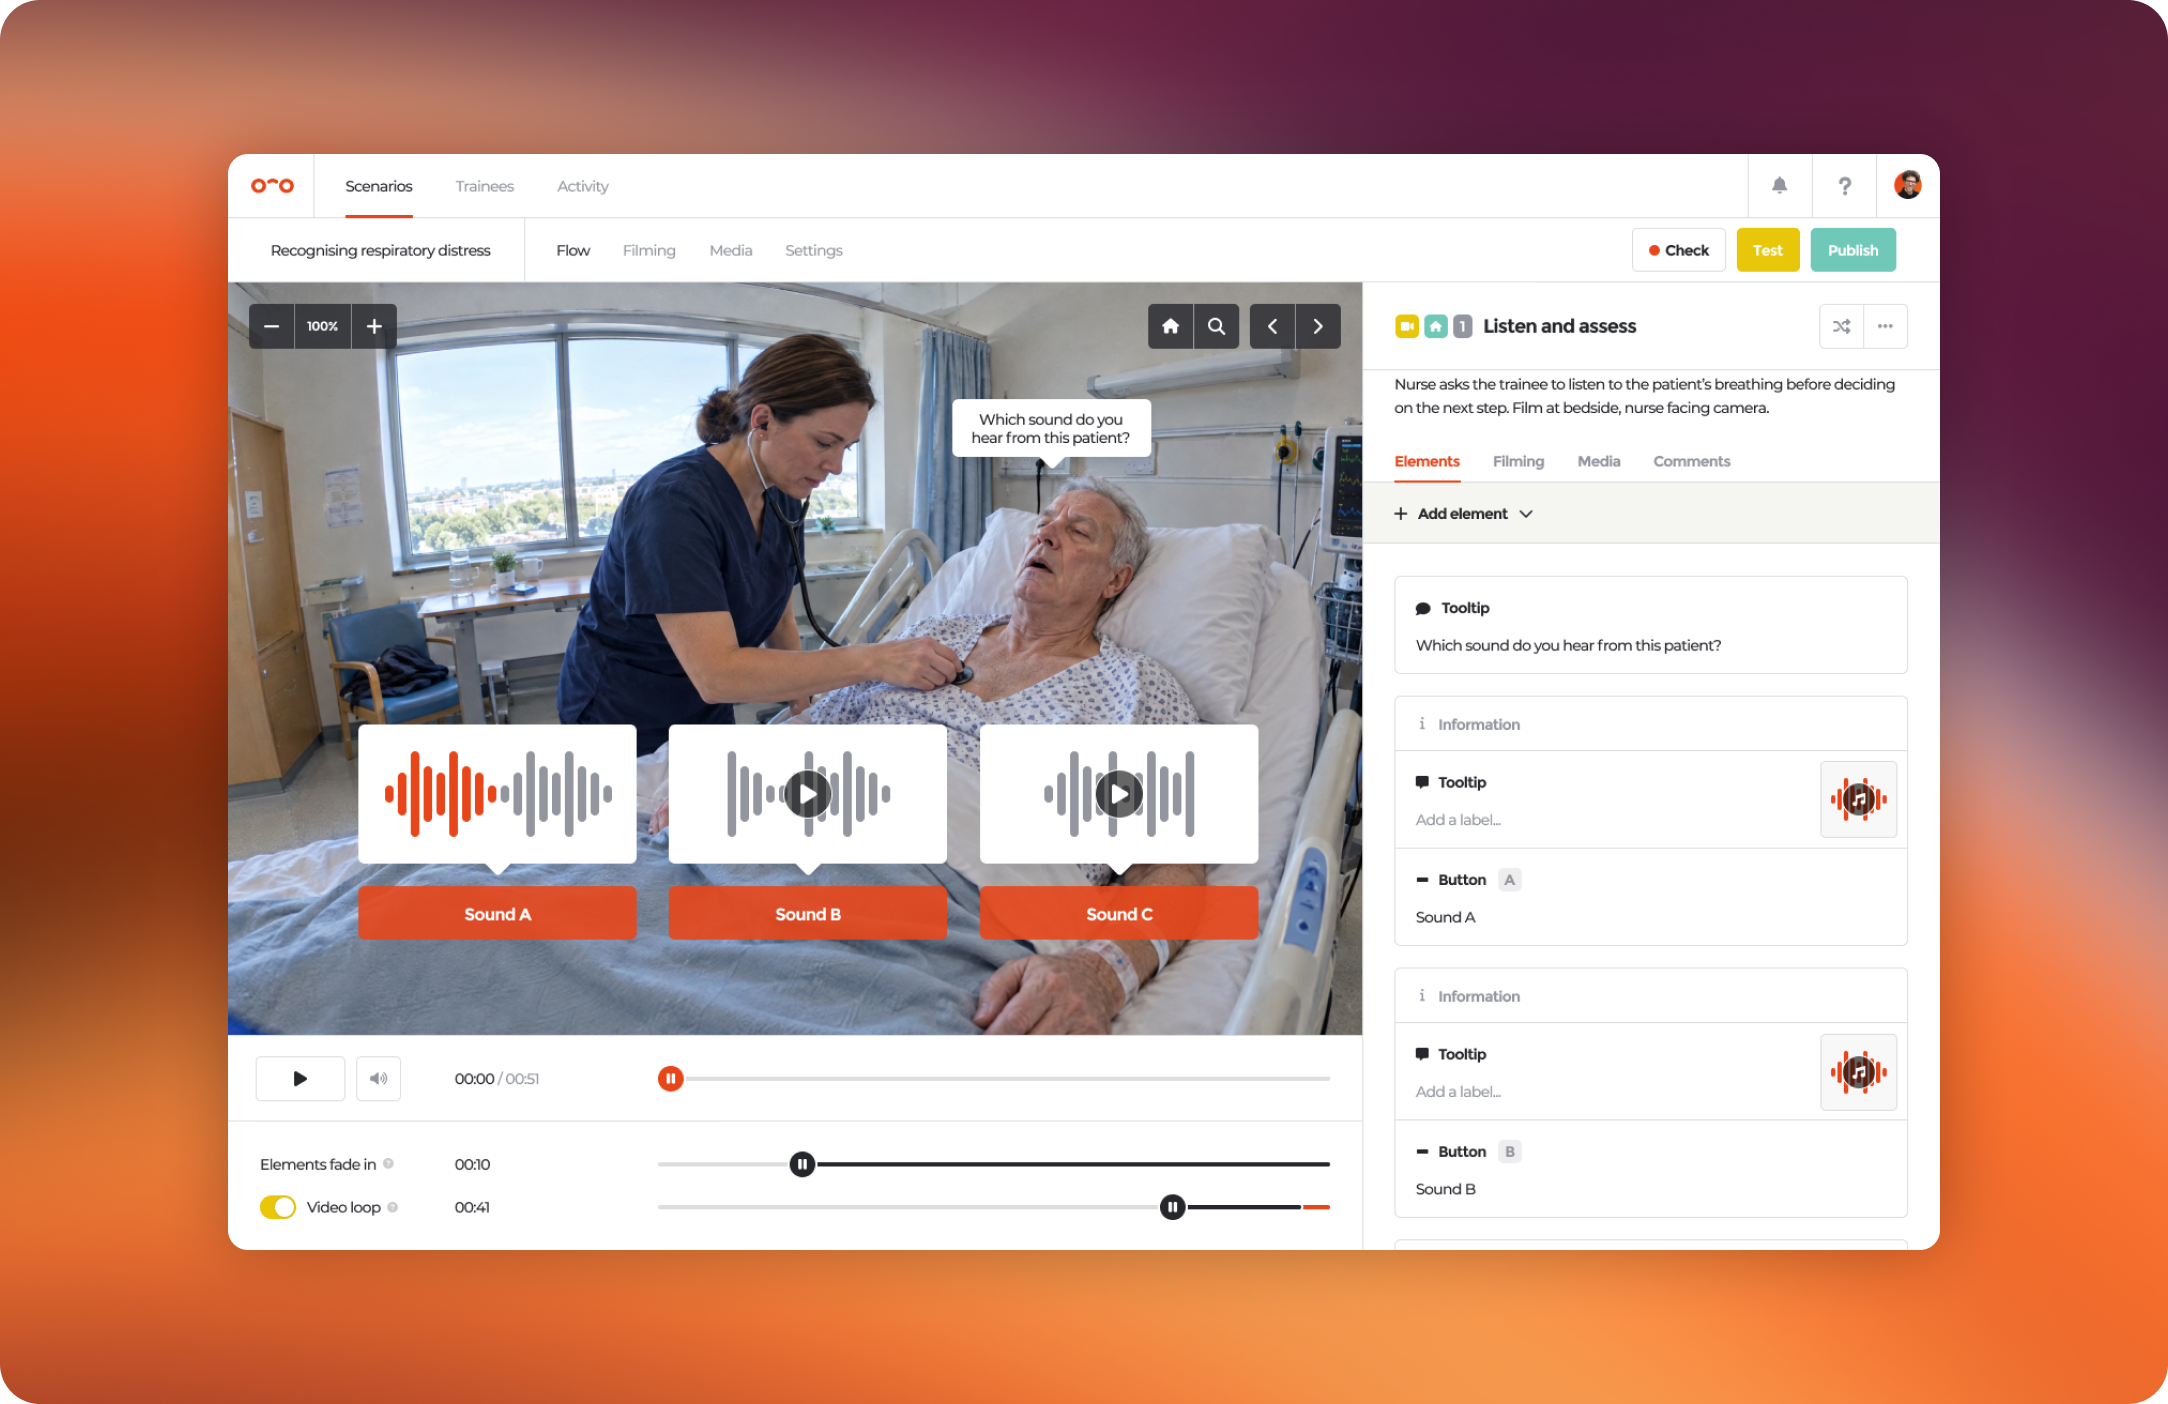
Audio elements are available now in Warp Studio and in the Warp VR apps, on every plan. Make sure your trainees use the latest version of the Warp VR app.
Open a scene, add an Audio element and give your scenario a voice.